Nov 18, 2009

House Decency - part 5

After sanding the joint compound, and then painting, another item on the list was caulking the gaps in various places. Here is the gap underneath the stairway banister:


Here it is now after a bead of caulking:


And around the corbels supporting the bar counter (see previous post for before picture):


I used the finishing tool that came with the removing tool. I don't bother with painter's tape. Very little effort and polished results. You just have to deal with having to say caulking.

Nov 17, 2009

House Decency - part 4

Since we were repairing drywall using joint compound, we decided to fill in all the dings and nail holes in the walls of the rest of the house. Most of the work is the prep and clean up. And since that's unavoidable, I figure that it might as well be done everywhere because it's pretty much zero extra effort to fix up multiple imperfections, rather than one.

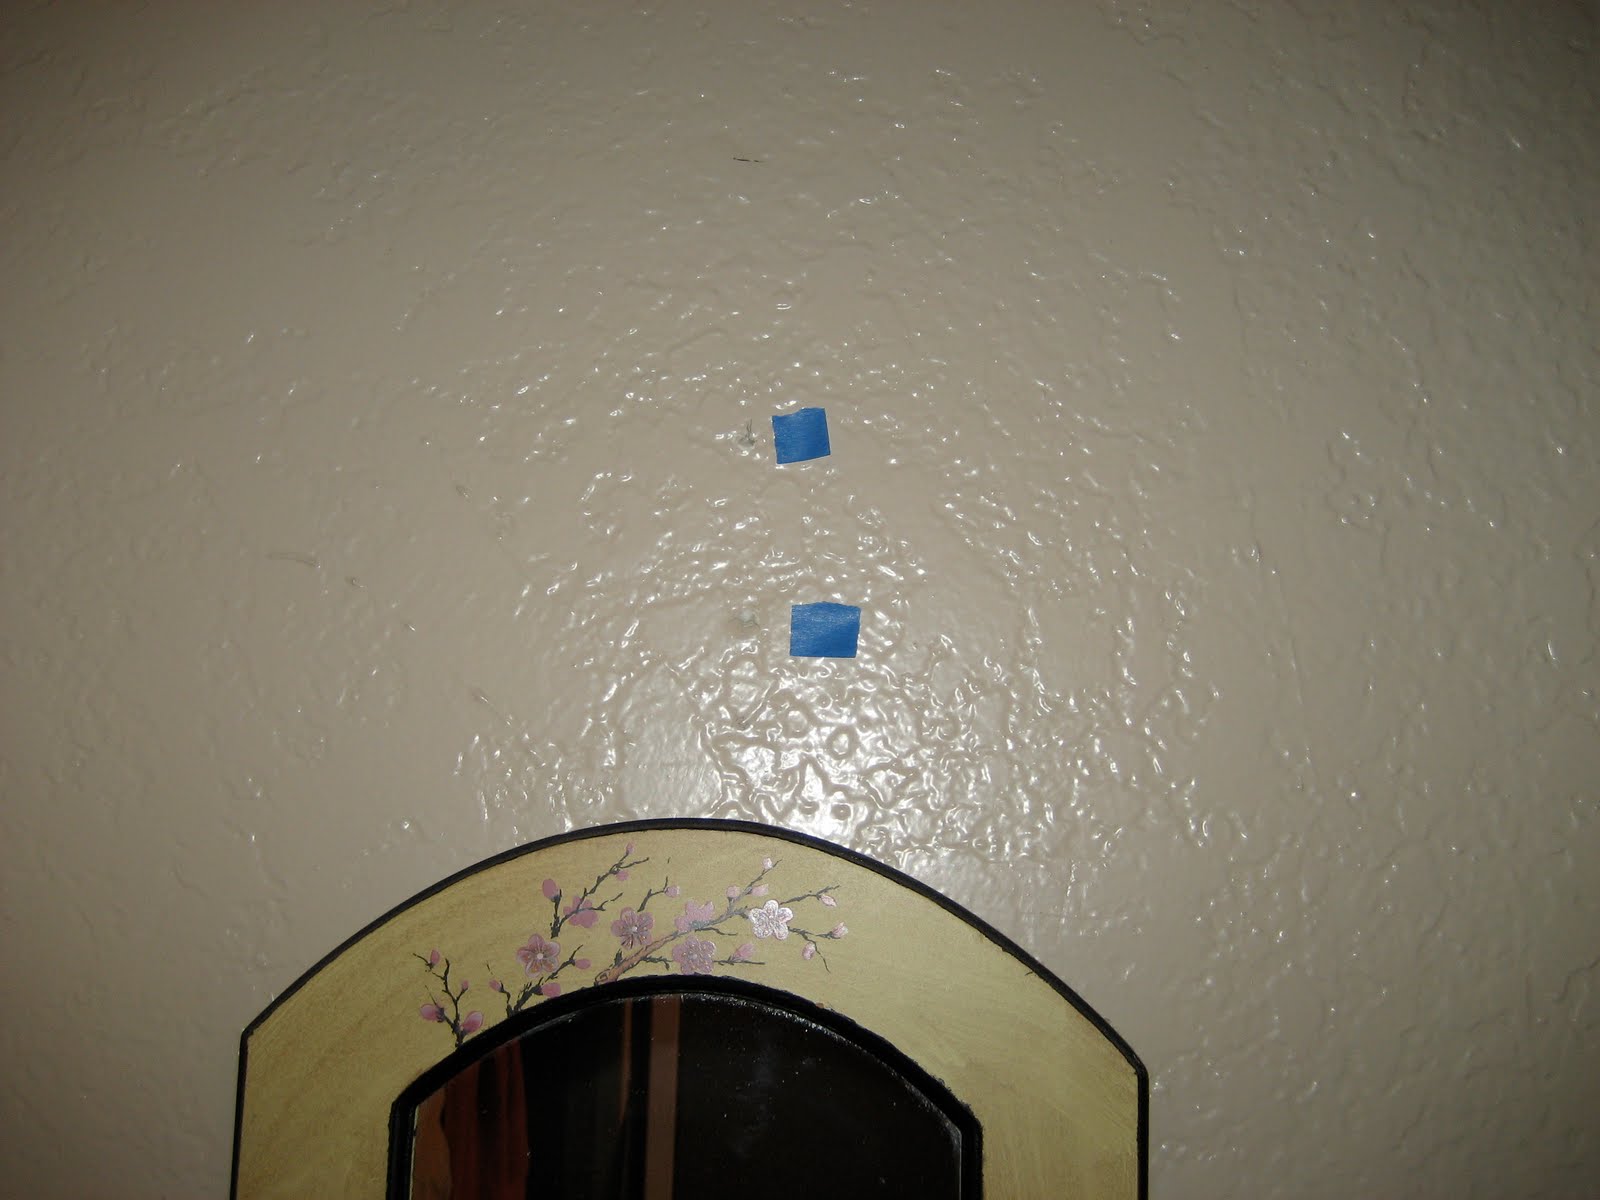
I like to do everything in stages. So first I go around the house with painter's tape and mark all imperfections with it:

These were some marks from the granite bar counter installation.


Some screw holes because we missed the stud when we installed this corbel, which supports the bar counter.


Something we didn't do, but had always bothered us - a big dent/chip in the texture underneath the thermostat.


Nail hole in the powder room (which never got filled in because we haven't painted any of the bathrooms, so therefore do not have any existing paint to match).


And of course the drywall repair behind the door needed several coats of paint in addition to primer to get into the nooks and crannies of the texture.

Nov 16, 2009

House Decency - part 3

One of the first items on our list to tackle, was the hole in the wall behind the doorknob. The previous owners patched the area up a couple times, and even added a plastic stop there, but we decided we could do better than that (IOW, the right way):

First, we cut out the patched up area completely. Then we kept cutting until we reached 2 studs.


Look at all the patch gunk we discovered!


Then we cut out a a piece of new drywall to insert into the hole. We screwed errr nailed* the new piece into the studs.

We then went over the seams with joint compound and sanded after it was dry.


Then primed, and 3 coats of paint, and problem solved!

*Our battery to the cordless drill is dead. This is making life around the house really difficult. We could use a sympathy drill...

Nov 10, 2009

House Decency - part 2

On the list was to refinish the other bar stool. That is still a work in progress right now (but nearly over!), as I just put on the final coat of polyurethane. But here is how I reupholstered the seat:


First go find fabric that tickles your fancy. I liked this punchy graphic print and thought it would stand out nicely against the newly refinished wood.

Then, I removed the staples holding the former fabric (navy blue with stripes) with a flat head screwdriver. That showed the original seat which is a stiff, off white canvas (with stains). I decided to leave this on because the pelon under the seat was attached to this. Then I staged my new fabric over the seat making sure there was enough around the edges to staple through.


Begin by stapling in the center of each side to hold it in place. Make sure that the fabric is lined up correctly (especially if you have stripes) so nothing is off center or crooked.

I recommend tucking the raw edges underneath for extra grippage and less chances for the fabric to fray.

Pull tight as you go along and take care around the corners.


Done. Now attach to your chair and have a seat!

Nov 9, 2009

House Decency

We are having a celebration this weekend for parents-to-be Brandon and Yuan! And it's going to be at our house. So that meant a lot of de-ghettofying had to be done.

Here's what our to-do list was at the start of the weekend:


  1. Get a new coffeemaker so that we can get this list done (I broke the carafe to the existing one. Note to self, granite is harder than glass. That's why I got a stainless steel one, see above)
  2. Electrical work to install new GFCi outlet in powder room, guest bath, new rocker switches and new GFCi outlet in kitchen
  3. Drywall repair to fix hole in wall behind garage entry door from the door knob (caused by us freaking out during this incident)
  4. Patch up various nail holes and wall dings
  5. Texturize over said patch ups
  6. Paint over said patch ups, and touch ups throughout the house
  7. Caulking under bar counter corbels
  8. Rip and install toe kick along base cabinets in kitchen
  9. Rip and install filler strips in kitchen
  10. Install dishwasher air gap hose
  11. Mount water filter connected to ice maker
  12. Strip, stain, refinish bar stool #2 (here is stool #1)
  13. Attack creeping fig as much as possible
  14. Trim New Zealand Flax along driveway
  15. Prime and paint 2 side tables
  16. Clean fireplace
  17. Sweep up patio
  18. Rake leaves
And of course general cleaning. We didn't accomplish everything on that list but we did quite a bit. And of course we encountered some things along the way (what home project would be complete without some unexpected hurdles?), like wiring the guest bath wrong so that it controlled the garage electricity as well. And then fixing it only to blow a circuit breaker. And then going to get a new one and discovering how expensive those suckers are!

Nov 6, 2009

Mater Tots

Here are the fruits of my non-labor:


I bought this Lemon Boy tomato seedling back in May and have been neglecting it ever since.


This is the third batch that I've plucked. I continue to ignore this plant while it produces sweet tomatoes. My kind of gardening!

Nov 5, 2009

Low-sitting Fruit

One of my latest scores at a moving sale:

It was a good deal, not a deal of the century, but good enough to pick it up without having a need or want for one of these. Care to guess how much I shelled out?

Nov 4, 2009

Garden Grounds

A few weeks ago, I came across this at Starbucks:


I hadn't seen this in over 4 years, so I thought they had stopped doing it. And of course 4 years ago I did not have a garden. Or plants, really. But now, I have a use maybe even a need for this!

This is a bag of old coffee grounds that can be used in your garden. It's supposed to be beneficial to your garden. And best of all, it's being kept out of a landfill.


The bag states that it can be used directly to your garden or plants or your compost. Since we are regular coffee drinkers at home, I already have a regular supply of grounds going into the compost, so I decided to use this for my Azalea shrub.

So I guess we'll see what happens in the spring...

Nov 3, 2009

Dung It

This post is about excrement (doggy doo - excited?). And more specifically, how I choose to bag it. If you have read this post and this post, then you would certainly understand this post.

I don't buy poop bags because I'm cheap. And it's just money into the trash (I was going to say down the drain but that wouldn't be technically correct). So I reuse existing bags that otherwise would go into a landfill empty.

  1. Newspaper bag (I shred and toss the newspaper into the compost)
  2. Small shopping bag from Jo-Ann (watch out for those cut out handles!)
  3. Bag that SOLO plastic cups come in
  4. Bag that Rite Aid plastic cups come in
  5. Bag that Shoppers Value plastic cups come in
  6. Hardware store bag that hold nuts, bolts, screws (extra tough but a little too short to tie big poo)

  1. Bread bag (long and sturdy for those messy poops that require pulling up grass with it)
  2. Tortilla bag (not quite long enough to tie easily, so reserve this for little dry turdlets that can be contained with that thin ziplock seal)
  3. English muffin bag (a slimmer version of the bread bag)
  4. Shredded carrots bag (same use as tortilla bag, see #2! No pun intended)
  5. Produce bag (this is the ultimate, it will never fail you if you snag them unused. They're long and can be stuffed easily into your pocket and have a large capacity. One of these suckers can rid a whole yard of well-formed-excrement in one go. The only downside is that they are clear so if you are on a walk, others will see the lovely contents you are toting around.)
With 4 dogs here for a week, that meant a lot of poop at various times of the day in assorted sizes, shapes, colors and smells. So I got creative with my turd baggage. If you have any other suggestions, let me know - gosh dung it!

Nov 2, 2009

Stool Sample

This post has nothing to do with excrement. Although it shares the same color. Are you disappointed? It does however document my first time completely refinishing a piece of wood furniture. Actually any furniture.

These were given to me by a friend who had given up on them. I took this as a challenge and also felt too guilty to send them to a landfill. And knew that throwing them in the firepit would result in all kinds of colorful stinky fumes. And they were structurally sound and were solid wood (can you say NOT laminate? I guess I've been at Ikea too much?).

Before


After removing the gray paint, and the red paint beneath that

This was the worst laborious process, using chemicals, power tools, and elbow grease to strip. Multiply all those said processes by a jillion and enough cursing that made me wonder what I was in a past life. And then giving up for a few weeks.


After first coat of stain


After second coat of stain


The end result
(After two coats of polyurethane, new upholstery, and reattached seat)

Now the only question is, what to do with them? They're too short for our bar counter, and too high for our dining table (this was also a reason for lots of cursing). Does anyone need this? Want this? Have something to trade? Did I waste countless hours of my life on this? What is wrong with me?