Showing posts with label Painting. Show all posts

Dec 1, 2010

Painting himself in a Corner

I hope everyone had a great holiday. Wanna know how ours was? This is how we spent Thanksgiving day (and into the night as you see):


Here's the 'before' shot:


And here's a view of the rest of the house all festively decked out:


We had home work on Thanksgiving (removing all window treatments and clearing all the areas in front of the windows). I guess it serves us right for leaving it to the last minute. Photos of the new windows soon!

Nov 17, 2009

House Decency - part 4

Since we were repairing drywall using joint compound, we decided to fill in all the dings and nail holes in the walls of the rest of the house. Most of the work is the prep and clean up. And since that's unavoidable, I figure that it might as well be done everywhere because it's pretty much zero extra effort to fix up multiple imperfections, rather than one.

I like to do everything in stages. So first I go around the house with painter's tape and mark all imperfections with it:

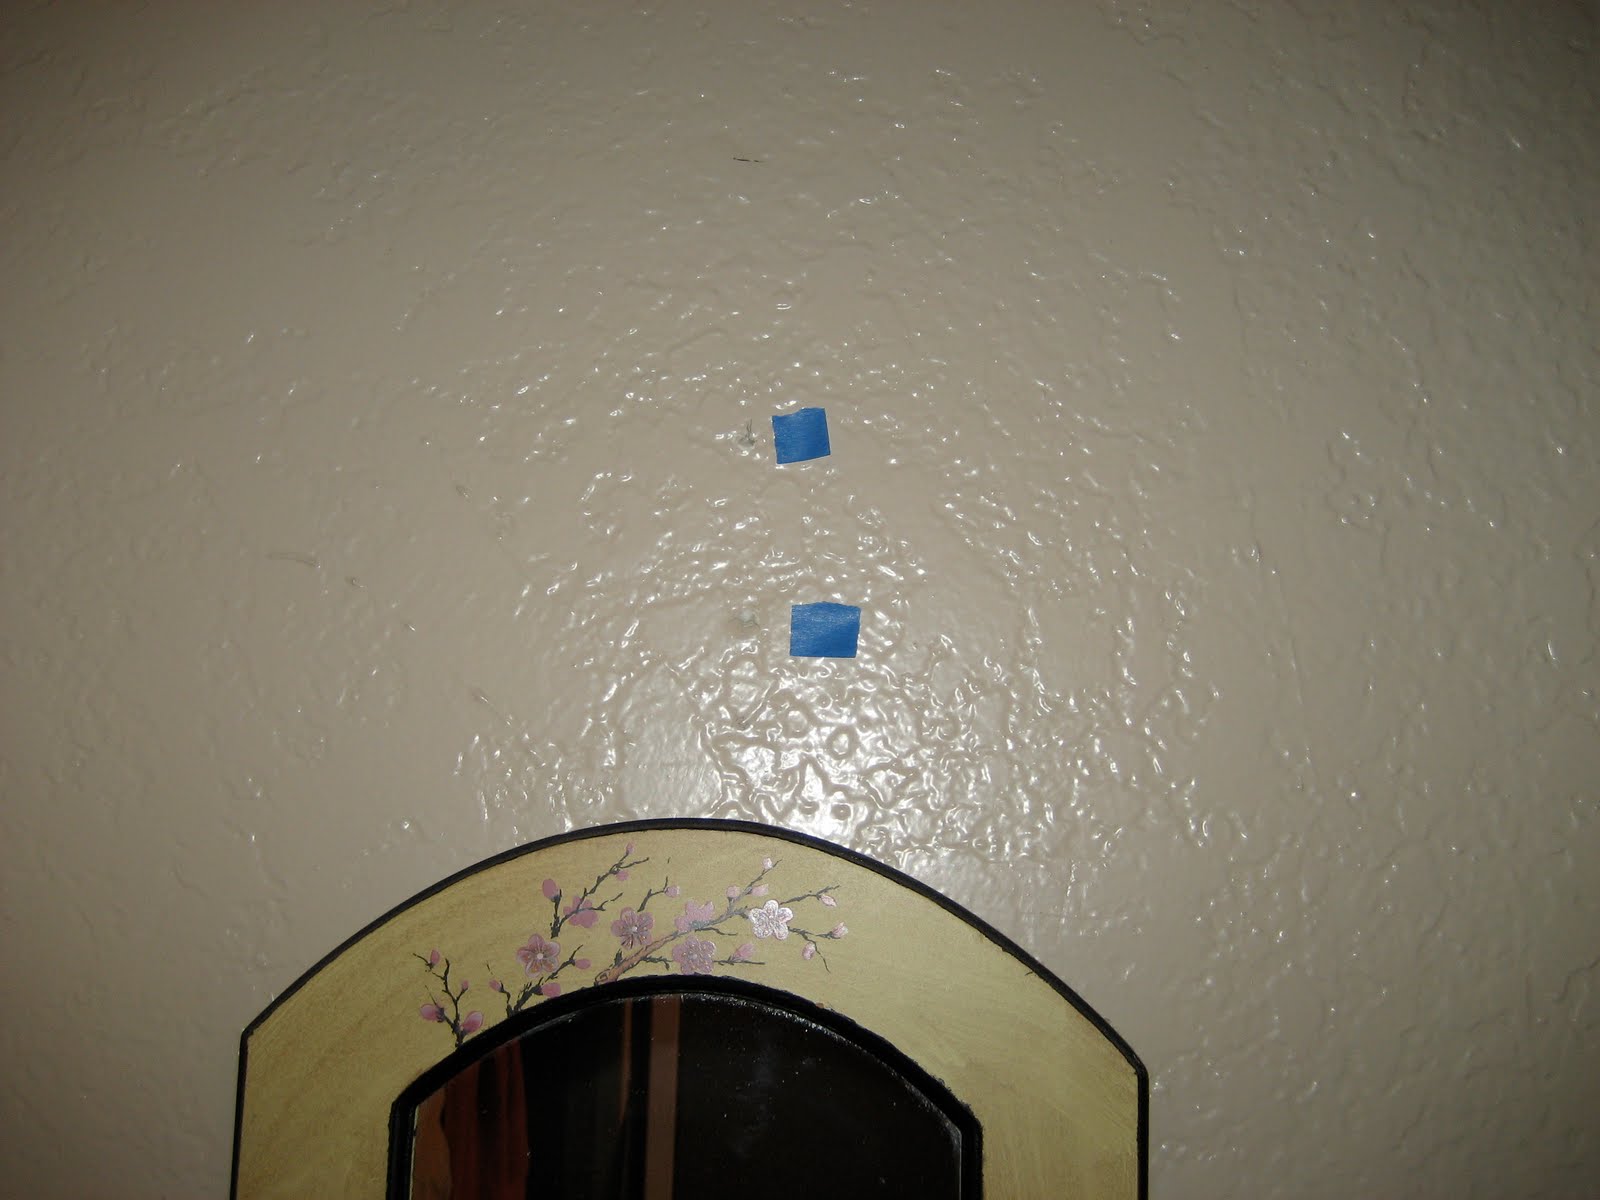
These were some marks from the granite bar counter installation.


Some screw holes because we missed the stud when we installed this corbel, which supports the bar counter.


Something we didn't do, but had always bothered us - a big dent/chip in the texture underneath the thermostat.


Nail hole in the powder room (which never got filled in because we haven't painted any of the bathrooms, so therefore do not have any existing paint to match).


And of course the drywall repair behind the door needed several coats of paint in addition to primer to get into the nooks and crannies of the texture.

Nov 16, 2009

House Decency - part 3

One of the first items on our list to tackle, was the hole in the wall behind the doorknob. The previous owners patched the area up a couple times, and even added a plastic stop there, but we decided we could do better than that (IOW, the right way):

First, we cut out the patched up area completely. Then we kept cutting until we reached 2 studs.


Look at all the patch gunk we discovered!


Then we cut out a a piece of new drywall to insert into the hole. We screwed errr nailed* the new piece into the studs.

We then went over the seams with joint compound and sanded after it was dry.


Then primed, and 3 coats of paint, and problem solved!

*Our battery to the cordless drill is dead. This is making life around the house really difficult. We could use a sympathy drill...

Sep 15, 2009

For the Books

What I miss about apartment living, is finding discarded items from residents moving out. (Sidenote: this sounds like an opportunity for a list here. Perhaps that will be a future post.)

One of the items was a shabby chic-country-whitewash folding bookcase. Not exactly my style but my belief on storage is that you can never have enough, so of course I snatched it.


Here it is after a coat of primer:


And after 2 coats of paint and a coat of oil-based polyurethane:


I've had this for a couple years but wasn't inspired to paint it until I found a quart of "oops" paint at Home Depot for $1 in a sea foam green that I couldn't pass up. Lucky for the guest bath that I didn't have a gallon of it...

Have you transformed a free, discarded item? Any other suggestions on what to do with the rest of the paint, I still have most of the quart left. Do you have a sea foam green bathroom? Is sea foam green tacky or awesome? Does it work on a bookcase? Curious if the bookcase still folds (the answer is, not really)? Where should I put this bookcase? Bueller?

Jul 13, 2009

Yet even more Paint Reliever

Because I had about a cupful of paint leftover from the planter project (which was leftover from the outdoor table project, which was leftover from the front door project) that I couldn't bear to waste, I found a way to use it:


It's made using an old kitchen cabinet door and old kitchen cabinet molding (it went along where the cabinet met the ceiling).

I have no idea why or where to put this or even what to call it (house number plaque?). Where would you put it?

Jun 24, 2009

More Paint Reliever

After my door project, I had some leftover paint which became the outdoor coffee table project. From that project (surprise!) I had more leftover paint. I should really learn to gauge my paint usage better. So that became the planter project.


The previous owners left an old plastic planter that was cracked. Since I like to "save" things destined for the landfill, I attempted to bring this piece back to functionality. Sort of. I duct taped the thing, and painted the it with the leftover paint:


I wouldn't call this a permanent solution for the planter because I don't think one exists. It's plastic, it's old, it's cheap. But it was worth a shot and if I'm lucky, it'll hold a plant for a little while before totally collapsing and leaving soil everywhere. Will I regret I did this? Maybe. Does it look ghetto? Definitely. But strategically turned and placed against a wall, it passes for decent.

Jun 23, 2009

Paint Reliever

We had some leftover paint from our door project. Actually, I poured out too much into the paint tray, way too much.

Pouring it back into the paint can is a big no-no (especially since I was painting an exterior surface, I didn't want the debris tainting the clean paint). Tossing it would not be so environmentally responsible. And I know it wouldn't make it to the local monthly hazardous waste collection. And paint is not cheap (especially exterior paint).

So I painted an old table that the previous owners left on the back patio (it was a faded grass green before). It was forsaken, splintery, wobbly, water damaged, and destined for dismemberment and tossed into the weekly trash over the course of several weeks. But after some love, this baby is functional again and not looking too shabby either. Of course I failed to get the before shots, but here's the after:


I tightened the legs, sanded the heck out of it with the orbital sander, primed, and painted 2 coats. Now we've got something that matches the front door, spared this from the landfill, used up some leftover paint, and it's functional.

All for $0.00!

Jun 18, 2009

In Front of Closed Door

Here is the finished front door:


It is red.
It has a knocker.
It has a kick plate.
And with a knocker like that, we had to update our peephole (hehe).
It makes our home look more updated and cozy.
All for about $50.

Why paint instead of replacing it? Obvious reason: much cheaper. Also, it's original to the house, so it felt appropriate. It's also unique looking with the molding, which echoes the squares on the garage door. There are no windows which is better for security (which shouldn't really matter because we have sliding doors in the back). Which also means privacy. Some sanding, cleaning, priming, painting, painting, painting, painting, and modern hardware does wonders.

So there you have it, our red front door.

Jun 8, 2009

Red Door Treatment

A couple weekends ago, we spiced up our front door. It was a boring, just-like-the-rest-of-the-street white:


After 1 coat of paint it was sort of pinkish:


Finally, after 4 coats, it is now a bright and charming red (Valspar's Romantic Attachment):


The significance of a red front door:
  • In early America, a red front door was used in the under ground railroad as a sign for the slaves traveling north that that house was a safe house.
  • In China, it's tradition to paint the front door red before the new year, to invite good luck and happiness.
  • In Catholocism, the red door on a chapel symbolized the blood of Christ, and other martyrs, to signify that the ground beyond the door was holy, and a sanctuary from physical and spiritual evils.
  • In Ireland, front doors are painted red to ward-off ghosts and evil spirits.
  • In Scotland when you paid off your mortgage you painted your door red.
Clearly none of these reasons were our motives. So why red?

Well there's plenty of red accents throughout our home with the brick columns, brick patio, fireplace, mailbox flag, fuzzy slippers, rubber spatula, Charles Shaw, border collie... so it was the obvious choice.

And I like it.

Purely aesthetic, no significant meaning - sometimes we're just plain shallow. So there.

But if you knock on our door, in need of a place to spend the night, we will happily oblige. But no guarantees this house is a safe house. We do keep dogs and booze here afterall.

May 20, 2009

Soffit Touch

Finally, some closure on the soffit color experiments, cause I know you've been dying to know.

I tested out Wheat Bread on one portion and lived with it for about a month. I thought it was ok but in the end decided against it because of the sheen. It was eggshell (therefore slightly reflective) and the rest of the ceiling was flat.

So back to flat white it went. The end.

May 16, 2009

The Dark Side

This week I turned this:


To this:


Bright red was fun for a while. Especially in the loft apartment. And as much as I love Christmas, I hated seeing it next to the green couches. Do y'all like red or black better?

May 14, 2009

Tier Up

Last week I bought this for $5:


And then I did this to it:

But what to do with it now? I'm not even sure what it is. Send me your ideas please.

Apr 16, 2009

Painting the Town Red (or the kitchen Wheat Bread)


We finished the final coat of primer so we were finally able to paint (the order goes: drywall, clean, mud, tape, mud, sand, clean, prime, texture, sand, clean, prime, paint!). I also went ahead and painted a test area in the soffit Wheat Bread. I like the effect so I'll just go ahead and finish the other edges and do touch ups. Take a peek.

We're really pleased with the progress. The texture paint turned out so much better than we expected. Can you detect any of the seams?

Apr 13, 2009

Our Soffit Spot


I'm thinking about adding some interest to our soffit with color. The paint colors in our open floor plan consist of Wheat Bread (a light gray) and Mochachino (a light olive-sage green). All our ceilings in the house are pure white.

Goals:
  • Make kitchen as large as possible
  • Make soffit simulate skylight window
  • Hide the fact that the kitchen ceiling is lower than the rest
Possible cons by painting soffit:
  • Make overall kitchen ceiling feel lower and room feel smaller, darker
  • Call too much attention to low ceiling
Possible pros by painting soffit:
  • Soffit creates frame for kitchen (it is an 8' x 8' square)
  • Make the highest point of the soffit appear higher (like a skylight)
  • Create visual interest via attention to detail (like the effect from crown molding)
  • Unifies kitchen with rest of open area
There seems to be more pros than cons (although the first 'con' is a major one). Here are various color experiments, done digitally (I love technology). Any preference?

Mar 7, 2009

No room for Yell-o


We erased all traces of the dingy yellow paint that covered our downstairs. Don't get me wrong, there's nothing wrong with yellow when done right, but that wasn't the case here, and it didn't go with anything we had. We have a lot of natural lighting during the day and with the yellow walls, you needed sunglasses to be in here.

The new color we originally chose was Behr's Mochachino, which is slightly darker and warmer than our Behr's Chocolate Froth upstairs. However, instead of being a warm brown like one would expect, it looked awfully greenish (see photo above). And we had 4 (unreturnable) gallons of it. It looked completely different on the walls than on the paint chip and online. Again, probably all that natural lighting overload that we have. We decided to use it on one wall as an accent wall that surrounds the sliding doors which will lead nicely into the backyard.

Instead of taking anymore chances, we bought a sample of Shark Fin, and decided that looked too blue and cold. So we finally chose and stuck with Wheat Bread. With the yellow gone for good, it's instantly more updated and calmer (feeling) downstairs. It's amazing what a coat of paint can do.

Tip: prime before attempting to paint over glossy paint. It will make the paint stick a lot better, and your job a lot easier. Especially if you want to annihilate the color underneath.

Any suggestions for the remaining 3 gallons of Mochachino? And do you think our accent wall looks intentional?